
If you’ve ever grown your own peppers and tomatoes from seed, you know how difficult – and lengthy – the germination process can be, especially with peppers. Pepper germination can take as long as two to four weeks, depending on conditions and type of seed. Add that to the possibility of seedling problems, like damping off, and a gardener can find himself (or herself, in my exact case) starting all over again and not being able to transplant seedlings for weeks after the last frost. Well, I’m excited to share with you today that my frustrating problem of having to start my pepper and tomato seedlings again has led me to an awesome new technique for germinating these seeds, cutting the germination time in half or more!
With the damping off fungus killing off my seeds before they could germinate, and even killing some of the few seedlings I did have, I found myself having to start the process all over again. Frustrated at the prospect of waiting another two to four weeks after the first day of spring to even see seedlings (never mind having them big enough to put outside), I did some research on the internet and found a technique that claimed to shorten the germination time substantially. I wanted to try it myself to see if it really would work before I shared it with you, and I’m happy to say – IT WORKED!!
PREPARING PEPPER AND TOMATO SEEDS FOR GERMINATION
The first step to this process is to prepare the seeds for germination by soaking them – in weak chamomile tea. Chamomile is an herb that is not just healthy for humans but also for plants. If you have a weak or sickly plant, a cooled chamomile tea drench can help nurse the plant back to health (if you do it early enough). Chamomile tea also has a property that helps kill any fungus or bacteria that may be on a seed.
1. Brew a cup of chamomile tea for yourself. (Be sure you use a tea bag with 100% chamomile.) Then, brew another cup of tea with the same tea bag – so the tea will be weak. Once brewed, allow to cool to room temperature.

Weak chamomile tea
2. Choose small, shallow containers for each seed variety. I used my small wine glasses. (A gardener’s unique use for crystal??) Also, make identification tags to place under the containers (or wine glasses), so you know which seeds they are.

Pepper seeds soaking in wine glasses
3. Pour a small amount of the weak chamomile tea into each container, then place your seeds in the tea. Be sure you have your identification tag underneath the container. You will soak the pepper seeds for 48 hours. Tomato seeds will soak for only 2 hours, so you can soak them the day you will continue on to the next step in the process. (If you make a large enough cup of chamomile tea, you can save the remaining tea to use for your tomato seeds later.)

Pepper seeds soaking in chamomile tea
GERMINATING PEPPER AND TOMATO SEEDS
1. After the soaking time has ended (2 days for pepper seeds, 2 hours for tomato seeds), gather together round coffee filters (not the triangle-shaped ones), zip-top sandwich baggies, a clean spray bottle filled with lukewarm water, a Sharpie pen, and a kitchen towel.
2. One variety at a time, carefully remove the seeds from the container and place on the kitchen towel. (This is why I used a shallow container. It eliminated the need to use a strainer and risk losing seed.)
3. Label a baggie with the Sharpie to identify the seed that will go inside. Fold the coffee filter in half. (Don’t make the fold exact or you will have trouble opening it when it’s time to transplant the seedlings. Ask me how I know!) Then, fold it in half again.

Ready to germinate pepper seeds
4. You will place the seeds inside the folds on both sides of the coffee filter. (The center fold is open on one side, so do not use that. You will use the two sides that are closed on both ends.) Split your seeds evenly between the sides, and spread them out. In the picture below, I had 3 seeds on each side.

Soaked pepper seeds inside a coffee filter
5. Close up the coffee filter and spray both sides of the of it so it is damp all the way through. Then, carefully insert the coffee filter into the baggie and seal tightly.

Soaked tomato seeds ready to germinate
6. When you have all your seeds in their individual bags, put the baggies into a heat-proof container. I used a metal ice bucket with a cover. I put all the baggies inside, put the cover on, then placed the bucket on a germination mat (for heat) in my grow room. If you don’t have a germination mat, put the bucket or covered container (even a pan will do) under your grow lights. The metal container will transmit the heat from the mat or the lights to your baggies so the seeds can germinate. Check your coffee filters after a day or so to be sure they’re staying moist. Spritz them with lukewarm water if the filters seem a little dry. (With the baggies sealed tightly, I didn’t have to spritz any of my filters.)

Baggies of seeds ready to germinate inside a metal bucket
TRANSPLANTING GERMINATED PEPPER AND TOMATO SEEDS
1. Check your tomato seeds after 3 days. I waited a week, and many of my tomato seeds had long roots AND baby leaves!

Tiny Tim tomato seeds ~ 7 days after soaking
After a week, more than half my peppers had germinated. The rest germinated another 3-5 days after that. So, all my pepper seedlings had germinated within 7-10 days!!! These are what your seeds should look like when transplanting – seeds with short root tails and no leaves yet.

Emerald Giant bell pepper seeds ~ 7 days after soaking
2. Fill clean seed starter cells with germination mix. (Click here for an article that contains my recipe.) Water the cells with lukewarm water and allow the mix to soak up the liquid. Be sure not to overwater. You want the mix to be moist.
3. One baggie at a time, remove the coffee filter and open it carefully. (This is the reason to use a coffee filter rather than paper towels. The germinated seeds won’t stick to the coffee filter.) Make a hole in each cell. (I used the end of a plastic spoon – a pencil would work, too.) Place each germinated seed into a hole, root side down. Cover the seed with at least 1/4 inch of soil. However, if your seed has new leaves, be sure the leaves remain above the dirt.

Tiny Tim & Brandywine tomato seedlings transplanted
4. Place your seedling trays under grow lights. At this point, you don’t have to have them on a germination/heating mat. I didn’t, and they did just fine. In fact, within 24 hours, the pale leaves (due to lack of sunlight) turned green. Photosynthesis began immediately.
Here are my seedlings three days after transplanting.

Pepper & tomato seedlings ~ 3 days after transplanting
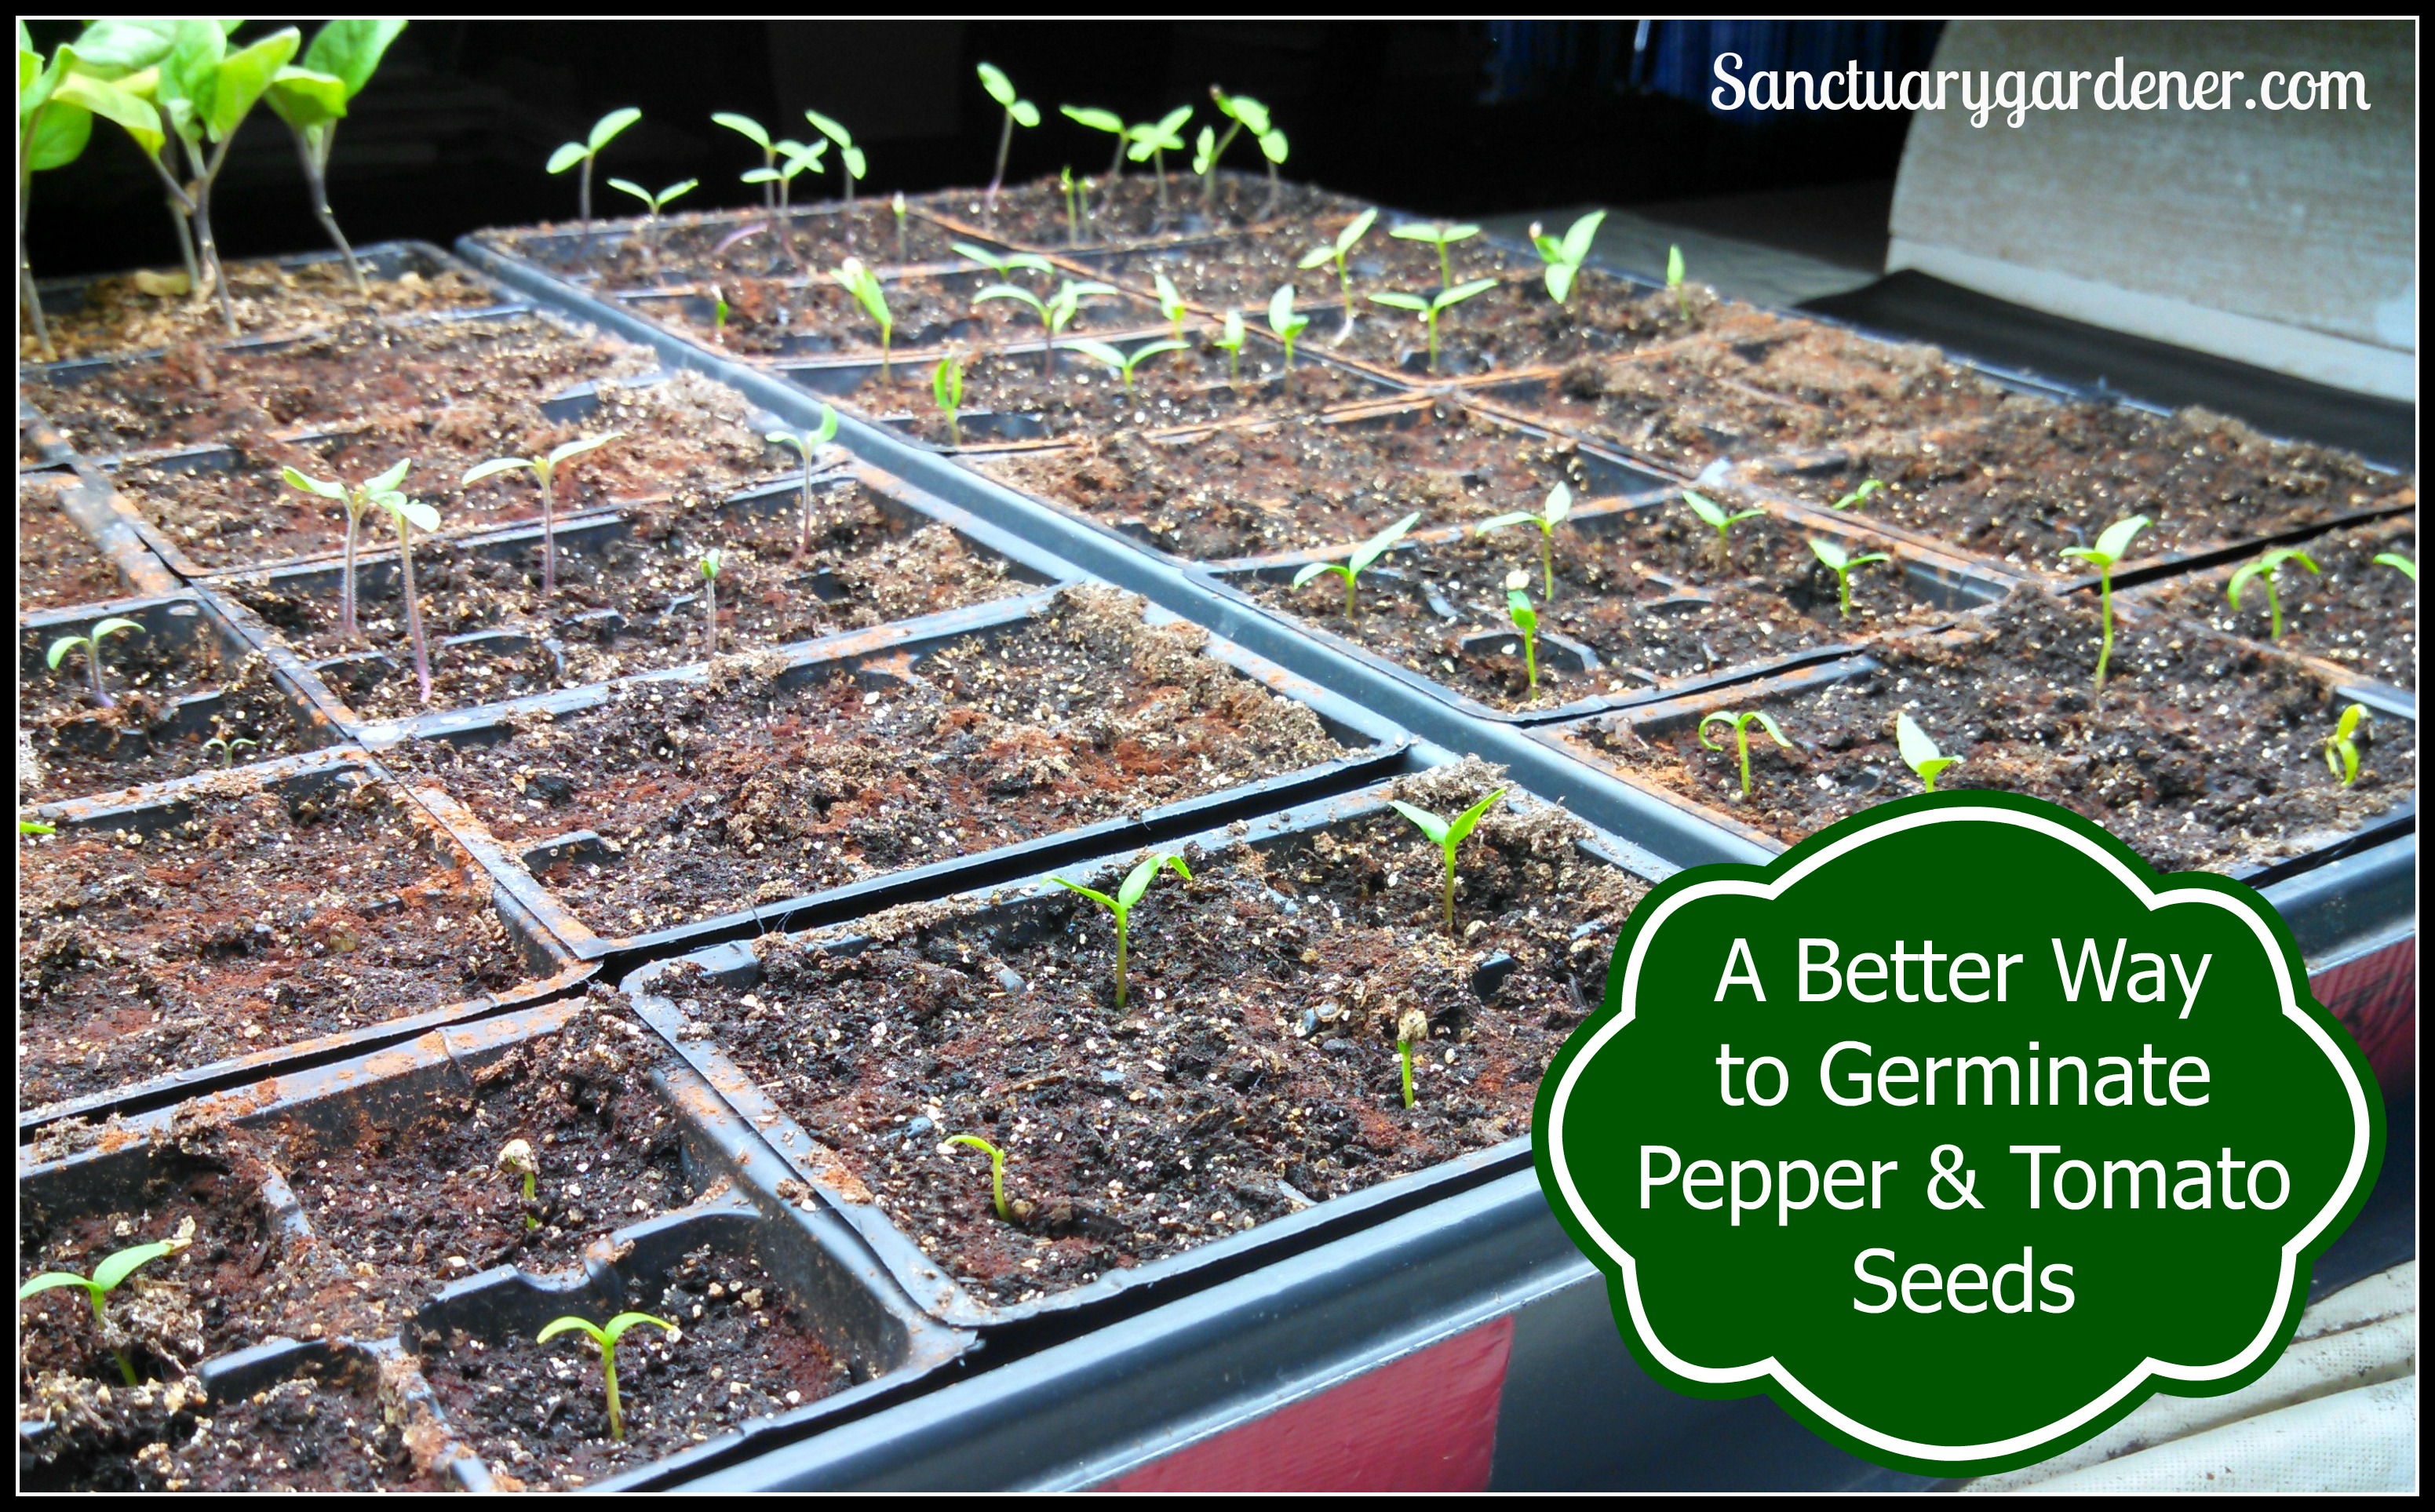
Here they are five days after transplanting. You can see more seedlings pushing through the soil (they had only tiny roots when I transplanted), and you can see how well the seedlings are doing.

Pepper & tomato seedlings ~ 5 days after transplanting
I am so pleased with this method that I will be germinating my pepper and tomato seeds this way from now on.
For those of you who have not yet started your seeds for spring planting, why not give this method a try? And if you do, please share your experience with me and the rest of my readers by commenting below.
Happy germinating!


Thanks for the in-depth helpful article.
You’re welcome! I’m so excited to report that those seedlings are doing very well – growing quickly and strong!